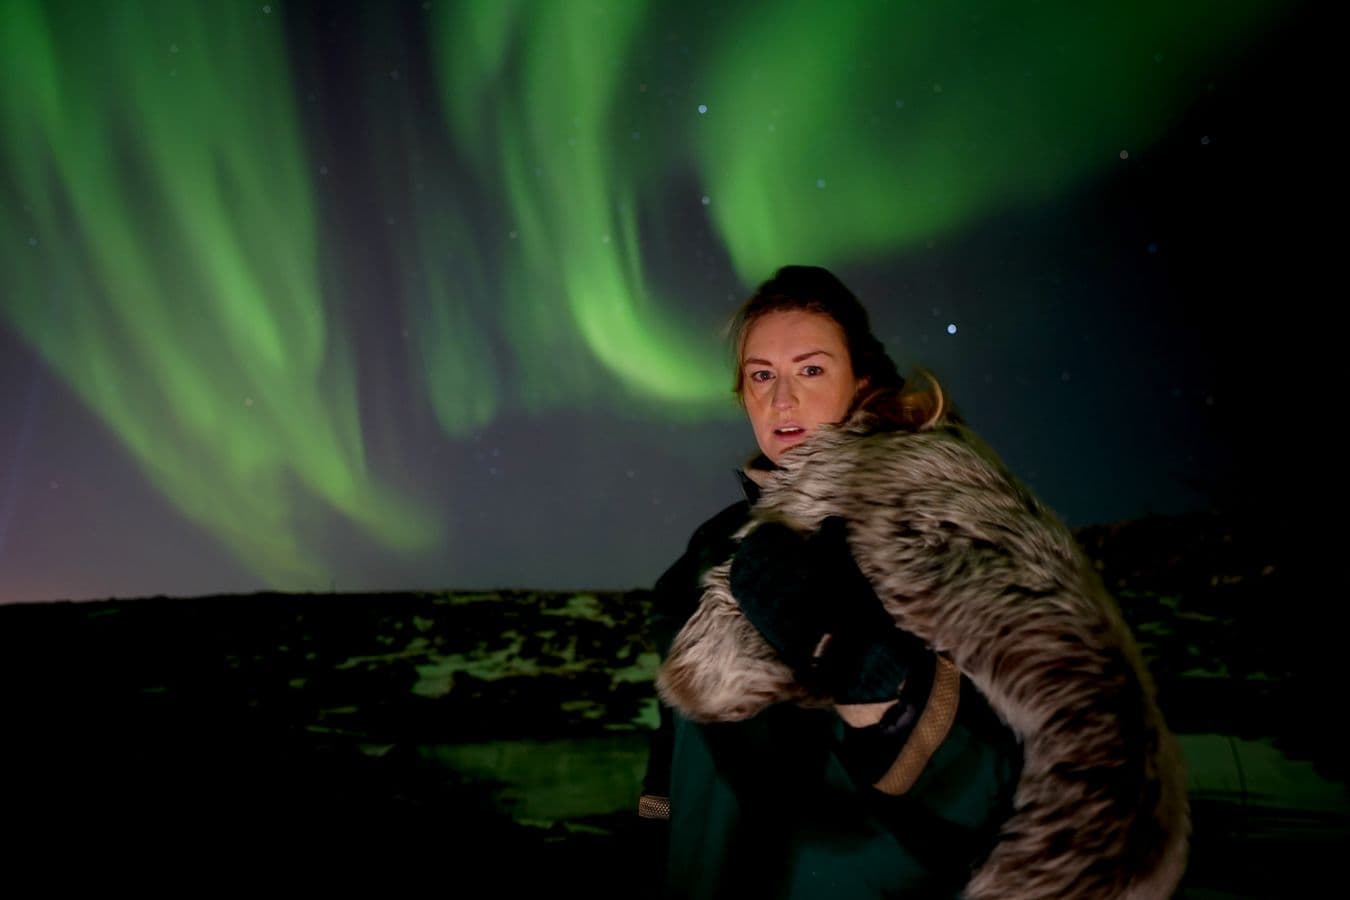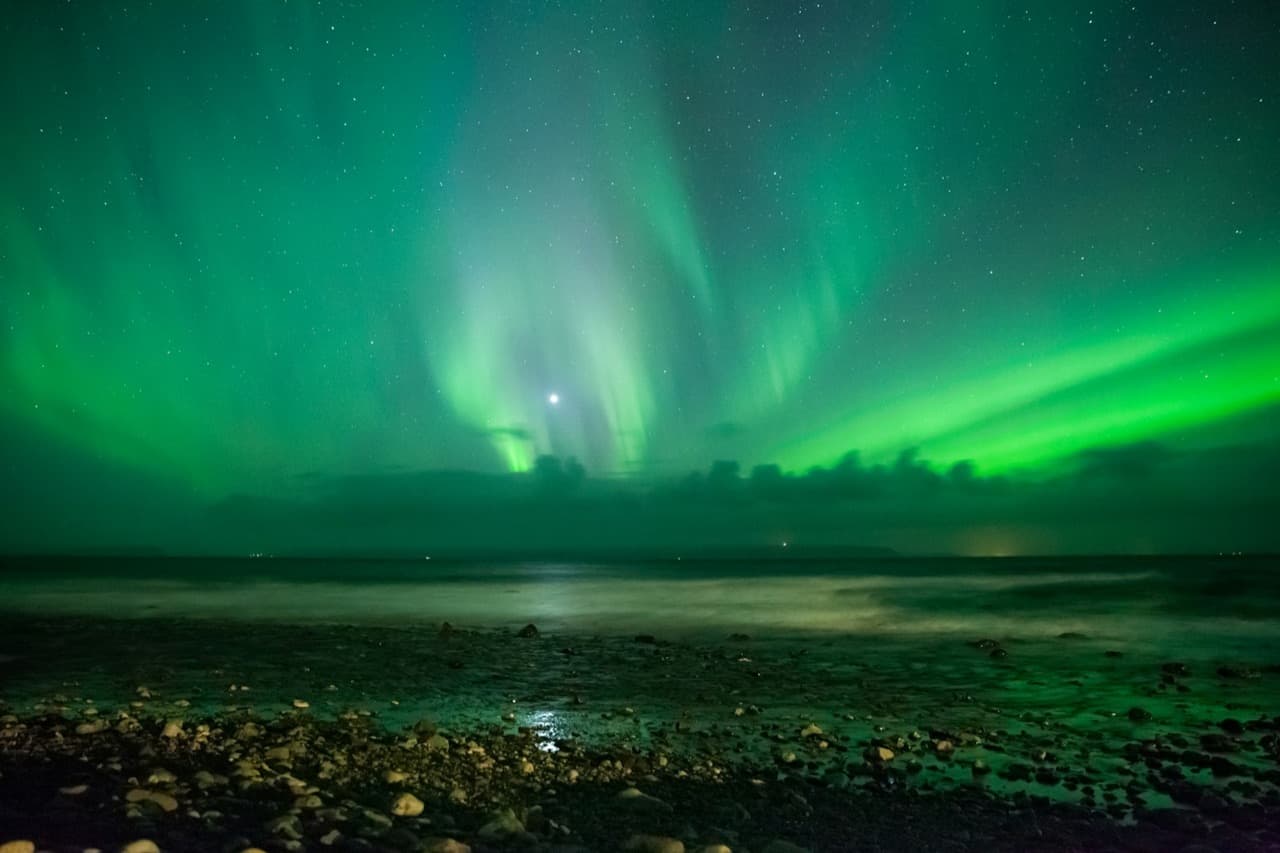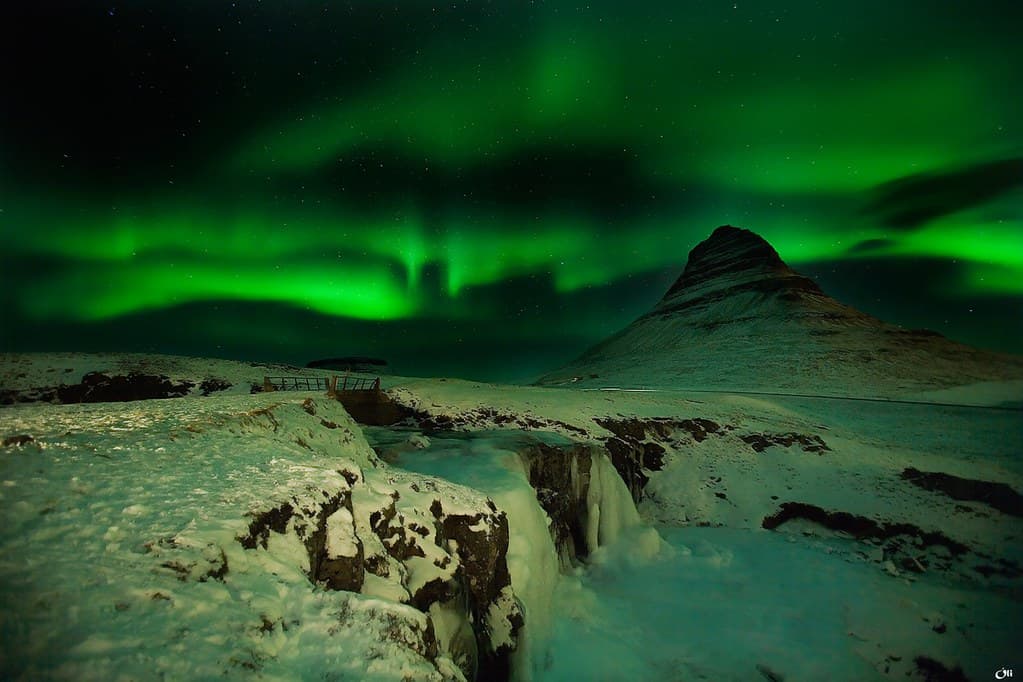
Northern lights photography comes down to a few settings and a steady camera: a wide aperture near f/2.8, an ISO starting around 1600, a shutter of roughly 5 to 20 seconds, and manual focus set to infinity. The camera has to sit still for those seconds, so a tripod is essential and you shoot in RAW to keep room for editing. This guide covers the settings, the gear, focusing in the dark, and how to time a clear, dark night.
Northern lights settings at a glance
Short on time? Here is the quick version.
| Setting | Starting point |
|---|---|
| Mode | Manual |
| Aperture | As wide as possible, around f/2.8 |
| ISO | Start near 1600, up to about 3200 |
| Shutter | About 5 to 20 seconds |
| Focus | Manual, set to infinity |
| File | RAW |
Aperture, ISO, and shutter
Start in full manual mode so the camera does not fight you in the dark. Open the aperture as wide as your lens allows: f/2.8 is ideal, anything in the f/1.4 to f/2.8 range is the sweet spot, and f/4 will do at a push. Set ISO around 1600 to begin, then move within roughly 1600 to 3200 to balance brightness against noise. For shutter speed, start near 20 seconds for a soft, glowing aurora, but drop to about 5 to 10 seconds when the lights are moving fast, or the movement blurs into a flat smear. Keep exposures under about 30 seconds so the stars stay points rather than short trails.
Focusing in the dark
Autofocus rarely works on a night sky, so switch the lens to manual focus. The reliable method is to aim at a bright star or a distant light, switch on live view, zoom in on the screen, and turn the focus ring until the point is as small and sharp as it gets. If your lens has a trustworthy infinity mark you can use that, but many are slightly off, so confirm on the screen before you commit to a night of shooting. Once focus is set, tape the ring or avoid nudging it.
The tripod and avoiding shake
Because you are holding the shutter open for several seconds to tens of seconds, any movement ruins the frame, so a tripod is not optional. Set it on firm ground, and if it is windy, hang your bag from the centre column to steady it. Do not press the shutter with your finger during the exposure; use a remote release or set the 2-second self-timer so the camera settles before it fires. On soft ground, push the legs in until they stop sinking.
Lens choice and the 500 rule
A wide-angle lens with a fast aperture gives you the most sky and the most light. Something in the range of about 14 to 24 mm at f/2.8 or faster suits full-frame cameras, or roughly 10 to 25 mm on a crop sensor. The 500 rule gives a rough ceiling on shutter length before stars trail: divide 500 by your focal length, so about 35 seconds at 14 mm or 20 seconds at 24 mm. In practice the aurora itself moves faster than the stars, so you will often want a shorter exposure than that ceiling anyway.
Timing, cold, and batteries
The lights photograph best on a clear, dark night, and activity is usually strongest in the hours around midnight, roughly 10pm to 2am. To pick a night, check the Icelandic Met Office aurora forecast at en.vedur.is, which pairs an activity scale with a cloud-cover map, and read it in the evening on the night itself. Cold is the other practical enemy: it drains batteries quickly, so carry at least two or three spares and keep them warm in an inside pocket, rotating them as they fade. Shoot in RAW throughout, since it leaves the most room to lift shadows and fix colour later. If you would rather join a guided trip that puts you under dark skies at the right hours, compare your options on our northern lights tours page.
Choose a promising night
Before packing camera gear, use the Aurora Forecast to assess cloud cover and activity for the evening you have in mind.